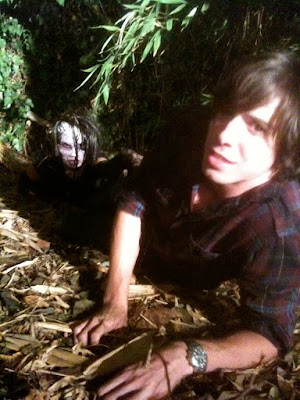
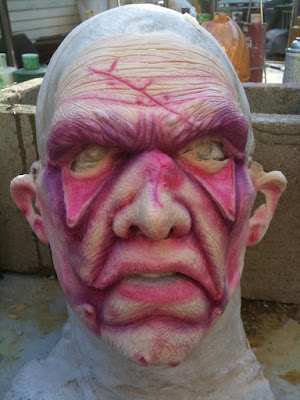
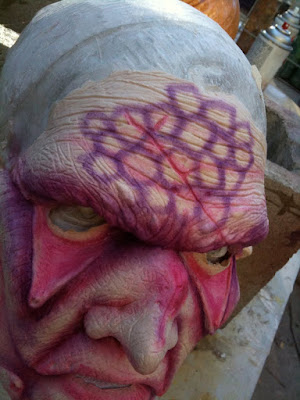
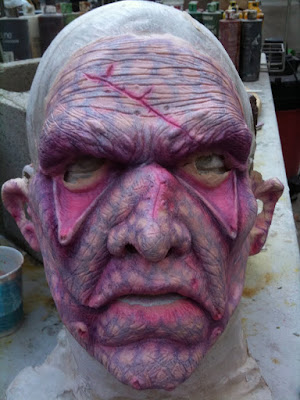
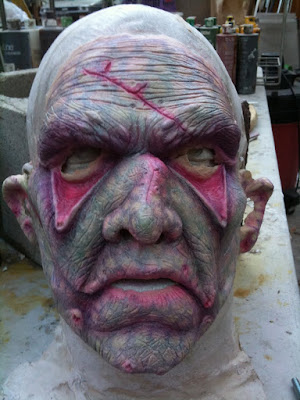
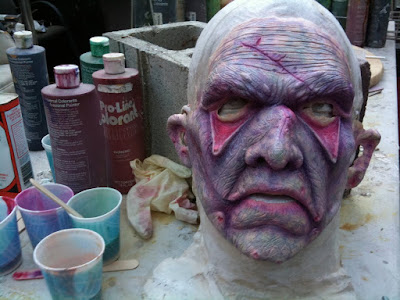
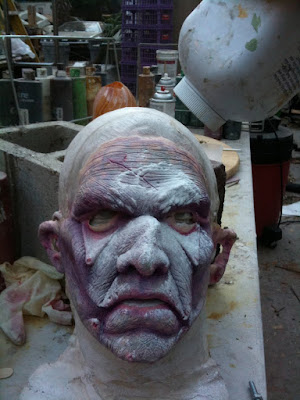
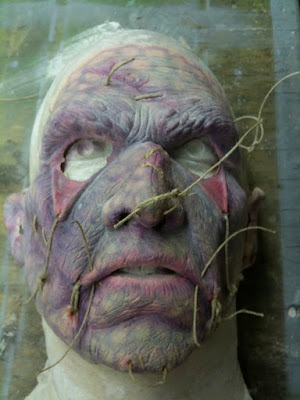
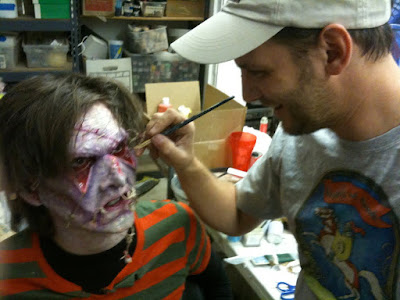
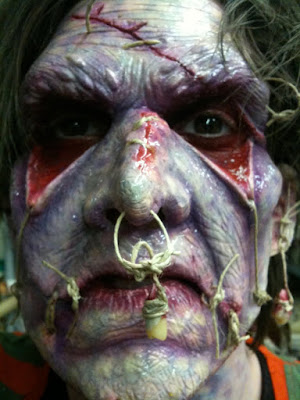
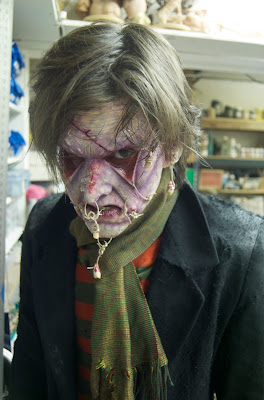
You may think you recognize this image from the cover of the National Inquirer. Or maybe you think you saw it as a grainy 8mm film recovered from a lost Area 51 scouting party. Or perhaps you just dismiss it as a snapshot of Big Foot’s bald cousin. The reality is, believe it or not, it’s none of those things! This photo is actually me, on my one day off, during the making of the original pilot for the WB sci-fi series BABYLON 5.

In my previous blog entry, I mentioned that my last production, “How to Make Love to a Woman”, screened at the Los Angeles United Film Festival. Thank you to all who attended! We had a great audience, and it was an awesome festival. Last weekend I went to the closing night’s ceremony, where they screened “The Shark is Still Working”, a documentary on the making of Jaws. Seeing all the hardship that Spielberg and crew went through to make that amazing film inspired me to do the second entry on Labou. I could never compare my film to the majesty that is JAWS, but I can say that my little green guy will give Steven’s mechanical shark a run for his money in terms of being plagued with problems!
So why is this entry not entitled “LABOU BLOG PART 2”? Well, that would be because after the screening, I ran into an old friend, Joe Fordham. I hadn’t actually seen Joe in probably 15 years or more. But I have seen a lot of his work, as I am sure many of you have, in the pages of CINEFEX. Still the best behind the scenes magazine out there. Joe has been writing articles for them for years, and his knowledge of the filmmaking process and the art of effects warranted him an appearance in the Jaws documentary sighting the still present influence of Steven’s masterpiece on audiences and filmmakers alike.
We exchanged emails, having not been in touch for years, and within a few days, Joe forwarded me a link to the past, one I would like to share with you below:
Seeing this really brought back some memories! It was so long ago. To be honest, I don’t think I had ever seen the end result of our day out in Vasquez Rocks until I received this link!
As Joe explains in the video, the concept was that there would be monitors all around the B5 space station (and by monitors I mean heavy-ass tube televisions mounted behind holes cut in the set walls to simulate the flat screens of the future. Kind of like the LCD I am typing on now. Hello, future!) and the monitors would constantly be playing newsreels, product commercials and station updates. Sounds like a good plan. But even after all the monitors were installed in the central hub set, and all the VCRs (Yeah, VCRs. Ask you parents) were synced to 24P, no one scheduled filming any of the content. I’m not really sure how the producers came to this conclusion, but it was decided that my creature FX team would join up with Ron Thornton’s VFX team and head out to the desert to film hours worth of content on our one and only free day of the entire 3 month filming process!
 So there I am, fully made up as an alien. Rob Sherwood did the application. I was wearing an old “space suit” left over from ROBOJOX or some such 80’s Empire film. Snow boots and winter gloves. In the desert. In August. Did I mention full head prosthetic, snow boots, gloves and padded jumpsuit in the middle of the hottest August in California history? Now that’s how you spend your day off! And to make it even more interesting, I was wearing full scleral contact lenses that I could barely see out off. And there’s my buddy Joe, in a Next Gen uniform, asking, “Can you see that really treacherous rocky peak up there?” Me: “No, I can’t see anything!” Joe: “Okay, go climb up on I and run around!” And I still live to tell the tale!
The on-the-scene reporter was played by Edwin Rosell. Edwin and I would later go on to create the Image comic “BLUE”, with Jason Johnson and Drew Struzan. But that future was not even a thought in his head while standing in front of the famous landscape where Captain Kirk fought the Gorn so many years ago. Edwin toughed out a few hours of shooting in that polyfoam suit and fish head sculpted by Aso Gotto.

Why a few hours shooting if the clip was only 2 minutes long, you ask? Well, for one thing, it always takes longer to film something than you would think. Every action has to be filmed several times to get the perfect one, and lots of little changes are made between each take. But in this case, it was mostly because we filmed other clips, too. We did a few more bits in the desert, then we drove to Foundation Imaging in Valencia to do some of the product commercials on stage. I’m not really sure where any of that footage is, but hopefully it will turn up one day, just as Joe so kindly brought this clip to my attention.
This photo is one of the few I have from that day, as we were all to busy to be taking pictures. But it is from one of my favorite gags: Sherwood and I puppeteered this alien as it brushed its teeth with a 3 pronged toothbrush attached to a cordless drill. We kept it going until its mouth got so sudsy you couldn’t even see its face! I don’t think any of the commercials they had us do ever got used in the show.

The same can be said for so many of the 60-some-odd aliens we created for “The Gathering”. Many of them were puppets, since JMS was adamant about the “Not Star Trek” clause, which stated that not all beings in the universe resembled human form. As ground breaking as Ron’s Foundation Imaging CGI was, the Amiga Video Toasters did not have the capability to create convincing living organisms yet. The show runners wanted aliens that were obviously not people in makeup or suits. So we took what little budget we had and made some crazy alien puppets. This photo shows a handful of them in our make-up trailer at Santa Clarita Studios. That’s Edwin working lower center. But my favorite part of this pic is Criswell, to the left, talking on the MASSIVE cell phone. That thing weight like 10 pounds, and probably cost $20 a minute! Cool t-shirt, though…

Years before we had access to “cellular phone” tech, Criz and I started doing concept designs to help JMS sell the show to a network. It was a very different show then. For one thing, Delenn was a MAN! He was supposed to be a mystic from a peaceful race, with giant black eyes and an elongated body. We were going to do a mechanized makeup, with the actor looking through vacuum formed lenses and servo controlled eyelids. It was going to require someone who was fully prepared to deal with such a contraption glued to his face all day. At some point early on, I was volunteered! So for the early stages of B5, I was destined to be a Minbari ambassador. This was one of the first maquettes I did with that in mind. I still have it in storage somewhere…

As we got closer to actually making the pilot, JMS decided he wanted Delenn to have a major story arc. Physically as well as character wise. HE would become a SHE! Suddenly the execs became uncomfortable with a guy playing a character that ultimately would be a woman. They felt it should be the other way around. So over the span of one short phone call to my giant wireless brick, I was no longer a mystical alien lead in a revolutionary sci-fi drama.
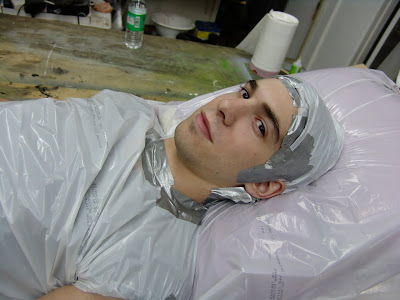
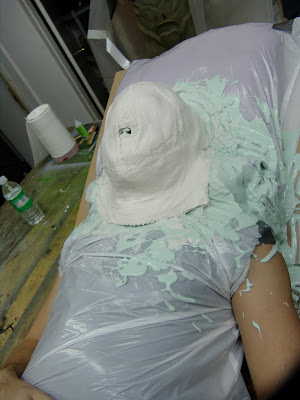
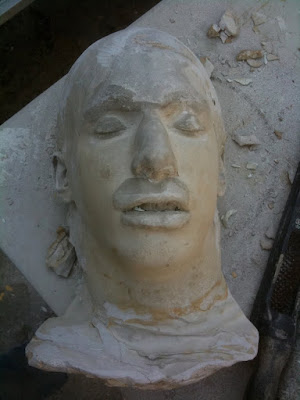
Trust me, in the end, that was a good thing for both me and YOU! I am NOT an actor! I was just young and eager, and somehow everyone felt my ability to endure the torture of servos buzzing around my head all day to equal the ability to deliver a captivating performance. Luckily, within the scramble to change the direction of the character, WB brought in a pro: Mira Furlan. Mira was a famous theatre actor from Yugoslavia, and she came over to do her first American production. I think I ended up doing her head cast just hours after she arrived in the country! She looked at the maquettes and sketches, and was shocked to find that she would be wearing so much make-up! This freaked the producers out, and they instantly retracted their approval on the mechanical eyes. So the designing process started all over again, just weeks from the beginning of principal photography!
Some of you may recognize Mira from her most recent sci-fi series,LOST. She was a French scientist on that show, which was probably much more to her satisfaction than full head prosthetics!

Drawings were done. Color tests approved. Very expensive full sclera black contacts were custom made. The make-up “tests” were scheduled for 5am the first day of shooting. Sherwood helmed G’Kar in the creature trailer, and I handled Delenn in the make-up trailer. Over the course of the next two hours, Babylon 5 was changed forever.

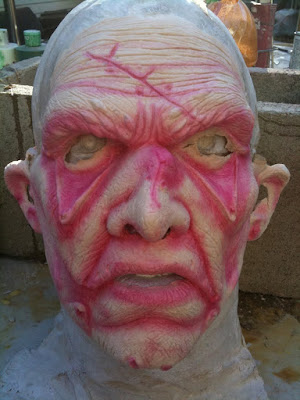
And I’m not making that as a statement to show how I feel our work cemented itself into sci-fi history. I wish I could be so proud of that test. I actually mean that B5 was literally changed. The suits from WB made an appearance to see what was actually going to be filmed, and suddenly realized that they had committed to a sci-fi show! They were appalled at the fact that the aliens really looked…well…alien! They panicked. This photo is what Delenn looked like at 6:30am on the first day of application. Just like the drawings, just like the approved color tests. I was going for an underwater feel. Years later, Jim Henson productions would use a very similar paint scheme on a fan favorite series called FARSCAPE, but for the bigwigs at WB, my design was “To alien”. That’s an exact quote. I know, I STILL don ‘t understand it, either. Then they said, “Make him more human, flesh color.” Two very important things evolved from that statement. The first was that I ended up having to surrender weeks of design to a makeup sponge full of Patricia Tallman’s foundation, covering up as much of my blue paint job as possible and still getting Mira to set on time.
But it was the second result of that statement that really changed things. Mira suddenly shot up and said,” HIM!?! Did you say make HIM more human?” For the first time, Mira discovered that Delenn was supposed to be a man. I guess all of the descriptions in the script stated “frail alien” and “wise mystic”, but never really called out a sex. The gender change was something JMS was going to keep secret till the series needed the curve, but I guess it was kept TOO secret!
So as I’m trying to sponge BK-5 tone all over her head, Mira is having furious words with the executives, getting angrier as she learns more and more of the plan for her character, such as the fact that she was going to be overdubbed with a man’s voice! Needless to say, by the time I got to the last step, putting in the large black contacts, Mira wasn’t having it. She could not believe that the production would fly her all the way to America, completely cover her face in an androgynous make-up, give her a male voice, and hide her eyes behind black lenses. We were asked to leave the trailer, and when they let us back in, Delenn was to be a flesh colored female alien with eyes that looked like Mira Furlan’s!
I have to give her credit, there are very few actors that can take a stand like that and have so much be changed to accommodate their view of the character! True fans of the show will recognize Mira’s continuous push to have Delenn be more human, as with each passing season, there was less make up, more hair, and my alien antler design merely became a tiara!

I didn’t get completely left out in the Minbari cold, though! There were several test make-ups done on me when I was still the contender for Delenn, and I guess I proved myself worthy enough to land the role of the Minbari assassin, of whom the entire pilot plot revolves around. Which lead to a whopping one line! But I got my trading card out of it, and lots of good stories, so I can’t complain. And there are some good stories! But they might be too gossipy for my art blog. Ask me at a convention some time!

Of course, just because I got to be an actor for a day didn’t mean I was allowed to shun my FX duties. I still had to spend 8 hours painting the G’Kar appliance, and a few more prepping the next day’s Delenn. If you are curious as to why I am still painting him, er, her, blue, it’s because MJS and I decided we couldn’t completely bail on the alien factor. So pay close attention next time you watch “Babylon 5: The Gathering”. Delenn has pale undertones of blue under her fleshy skin, getting subtly brighter as they reach her antlers.

The assassin wasn’t my only on-screen appearance for B5. I also played the assassin’s first victim! How’s that for a mind bender. Again, not sure who made this decision, but it came to be that instead of us making a dummy for the dead body found in a fish tank, I would be a dummy! I had a pruned face make up, and my lame long hair was pinned up to make me look more like the actor I was doubling. Then I had to squeeze through the small openings in the top of a saltwater fish tank and hold my breath as the 1st AD held me under. The water was freezing, and the fish wouldn’t go near me. But somehow I ended up making more money for that hour of work than I did for the entire rest of the show combined! Plus, for no real reason I can pinpoint, I got to keep the giant fish tank at the end of the show! It’s still in my house to this day…

The assassin was on B5 to eliminate Ambassador Kosh and cause another great war. I love all of the B5 aliens we created, but I think Kosh will always be my favorite.

One of these days I will do a step by step on how I created the Vorlon, along with my buddy Ron Mendell. This photo shows my WED clay sculpture of the collar, with the Bondo original of the helmet. Sadly, the finished Kosh no longer exists. But the original hard casts are tucked safely away, so fans may get a chance to see him again someday!

I have endless hours of stories to tell about making Babylon 5, and so many center around my dear friend Andreas Katsulas. He brought so much life to G’Kar, and he is missed dearly. I will definitely take the time to talk about him and our adventures on board the B5 in the near future…
I would love to get some questions about the show from fans, so ask below and I will tell you what I can about this sci-fi milestone! And thanks, Joe, for bringing back some great memories!
